DIY Tricks For Every Homeowner
1. Unblock a Toilet
A blocked toilet can be a horrible experience, especially if you’ve tried to flush it a few times before accepting the problem. However, in most cases you shouldn’t need to call a plumber to fix the problem, most blockages can be easily fixed.
The main thing you’ll need is a plunger, easy to find at most DIY stores. If you don’t have one yet, it’s worth investing in. A toilet auger can also help against more stubborn blockages, but isn’t necessary most of the time. However, if you want to be fully prepared pick one of these up as well.
Before you start, soak the plunger in hot water to soften it up a little, and if you’ve got room pour some hot water into the toilet bowl as well to help soften the blockage. Place the plunger over the hole at the bottom of the toilet bowl firmly enough to create a seal, and give it a good dozen plunges, just like you see in the cartoons!
In most situations, using the plunger and flushing the toilet will clear the blockage. In more severe scenarios, try using the toilet auger as per the manufacturer’s instructions. If that doesn’t fix it, then it’s finally time to call in help.
2. Fix a Leaky Tap
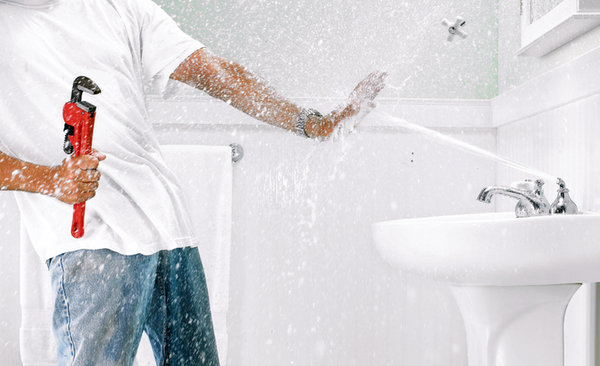
Leaky taps aren’t just annoying, they’re environmentally unfriendly and they can really help rack up the water bill. So, we always recommend fixing them as soon as possible, and good news, it’s something you can do yourself.
Exactly what equipment you need will depend on your tap - older taps, frequently the ones separated into hot and cold, are easy to fix and will only need new washers – these are pennies from your local hardware shop. Modern taps, which often combine hot and cold through a single tap, and only need a ¼ turn to fully turn on, use ceramic filters which are harder and often a little more expensive to replace.
First, you’ll need to turn off the water at the isolation valve near the taps. Then find the handle screw that will let you start taking the tap apart. It’s usually hidden underneath the cap on top of the handle, or sometimes just beneath the handle itself.
Once you have access to the tap, identify the washers and replace them. While you’re here, you may as well replace both of them since cost is low compared to the effort. If you have a ceramic cartridge that needs replacing, it’s important to identify the right one for your tap, but otherwise it’s simple enough to remove the old one and replace it with the new once you have the tap open.
3. Unclog a Sink
Drain cleaner is one way to unclog a sink, but it’s not always necessary. Most of the time, you can deal with the clog without resorting to chemical warfare, with just a bucket and a willingness to get a little dirty.
First things first, the same method you used above for unclogging a toilet also work for unclogging a sink. Try taking a plunger to it, and if that doesn’t work, use a plumbing snake or hand auger to reach in and help remove anything solid. When the snake comes out, it will probably bring a lot of gunk with it, so have that bucket to hand to dump it in.
If none of that is working, the problem may be a little deeper. Under the sink you’ll find the P-trap, that curvy plastic pipe. Place a bucket underneath it then begin to take it apart – it’s easy enough to unscrew. Be careful while you do this, because this pipe is probably fully of water too, and whatever’s in your sink is about to pour down as well.
Once you’ve taken it apart, inspect the pipe for blockages, and then get the snake again. Starting it from here will let it reach further down the pipe to unclog anything that’s blocking it down there. Once you’ve got the gunk out, put it all back together and, keeping the bucket in place, try rinsing the sink. If everything’s ok it should drain properly. Just make sure the P-trap isn’t leaking once you’ve put it back together.
4. Cleaning and Replacing Grout
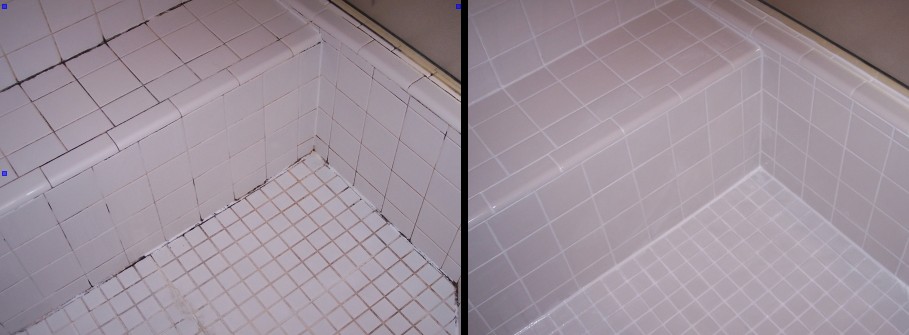
Over time the grout in your bathroom can start to built mould and look quite discoloured. Sometimes, this needs to be replaced, but more often a little clean can bring it back to life again. Cleaning grout is easy, just take a stiff brush and some clean water and give it a bit of a scrub followed by a clean water rinse. If the grime is being tough to get off, use a little bleach, soak and then scrub, and be sure to give it a good rinse after.
If the grout is actually crumbling away, then it’s time to replace it. You only need to re-grout in areas where the grout is actually crumbling (not the entire bathroom) so don’t worry too much about it being a huge job.
First, remove the old grout with a grout rake, follow up with a good scrub and vacuum to remove any excess dirt, dust and debris. Once it’s clean, apply the new grout, leave it to dry and wipe away the excess.
5. Caulking
Caulk is what you use to fill the gaps between walls and everything else: doorframes, windows, bathtubs, and kitchen counters, anything that has a gap that needs to be filled. It helps to waterproof important areas of the home, and to keep drafts out, keeping your home clean, warm and energy efficient.
A caulking gun is easy to find and intuitive to use. All you need to do is figure out which parts of your home needs new caulk and apply it. If you’re often feeling a draft in your home, then it’s likely you need to apply new caulk around a doorframe, and if old caulk is damaged then it’s easy for you to replace it.
6. Painting a Wall or Ceiling

Painting a wall is easy. Painting a wall and making it look good requires a little more effort. Make sure you protect other areas from the paint by covering the floor in old sheets, and protecting door and window frames with masking tape.
Ensure the walls are completely clean and dust free before you get started, this will help to create smooth finish. Start by taking a feather duster to the corners where the wall meets the ceiling, to get rid of any cobwebs. Give the walls a light wipe with some clean, soapy water to remove dirt, dust and grime and give it some time to make sure it’s completely dry before you start painting.
Give yourself enough paint to get the entire wall done in one session, and mix it all together before you start to ensure that you achieve a uniform colour and finish. Don’t rush and avoid over-applying paint, or you’ll end up with blobs of paint leaving an uneven finish to the walls. Take your time and make sure you paint evenly; we recommend using a paint roller.
When you’re done, leave for at least 24 hours, preferably more, before you start to move furniture back into the room especially against the walls.
7. Hanging Shelves
Being able to put shelves anywhere you have wall space is great, as long as they’re attached to the wall properly and can support their own weight. Learning to hang shelves properly is vital to the long-term health of your walls, shelves and everything on them.
Use shelf supports appropriate for the shelves you want to hang, providing enough support for the depth, and using more supports for longer shelves. Make sure to attach the brackets to the wall studs, which are the solid areas of the wall designed to act as supports.
To find the wall studs, you’re basically looking for the more solid parts of your walls. Tapping along the wall, you’ll hear that some areas sound more hollow, and some more solid. The solid areas are where you want to drill holes or hammer nails to provide support for the shelf brackets.
8. Build a Flower Box
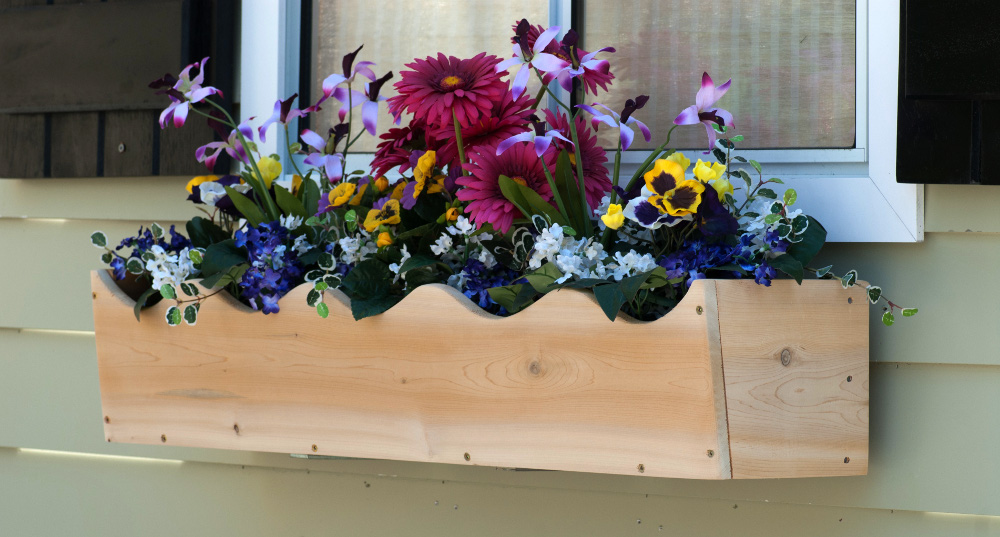
Want to keep a garden, but don’t have the space for it? A flower box, either under the window or acting as a raised bed, is the perfect solution, and incredibly easy to build. After all, it’s just five rectangles of wood designed to hold soil.
A few tips to think about when creating your flower box:
It’s going to be living outside, and holding wet soil, so the wood should be weather proofed appropriately.
The space you have for your flower box isn’t the same as the space inside the flower box. Remember to account for the width of the edges as well as the width of the empty space inside, especially for window boxes, which won’t otherwise fit.
Leave holes for drainage in the bottom of the flower box, otherwise the soil will become waterlogged and the plants within will die from over watering.
If you intend to use the box for growing vegetables, herbs or other edible plants, make sure that the wood you use isn’t treated with anything toxic for human consumption.
9. Clean the Gutters
Blocked gutters lead to overflowing drains, wet walls, damp homes and black mould. You only need to take care of it a couple of times a year, and ignoring it is going to lead to much worse work further down the line. So get out your ladder, a good pair of gloves and get cleaning the gutter and drainage pipes that help water drain from your roof.
If you’ve got compost going, this is a great way to salvage some more leaves for it. Otherwise, just remember all the problems that come from a leaking gutter and make sure to clean them out once or twice a year, especially when it starts getting wet in autumn and winter.
Remember, there's no place like home...